
This is the first in our winter series of tutorials covering bicycle technology, maintenance, and training. Do you have a topic you’d like us to cover? Send us an email via our contact page or leave us a note on Facebook. We’ll try to address as many reader topics as possible.
Installing Tubular Tires
Cyclocross season is heralded at Durham Cycles by the smell of glue and acetone. Tubular tires, which are glued onto the rim, still reign in cyclocross, where their supple ride and low pressure traction can’t be approached by clinchers. You will find innumerable tutorials on the web for gluing tubulars and we encourage you to explore and find what works best for you. The method below is used by the mechanics at Durham Cycles. Followed properly, it will create an exceptionally strong bond between tire and rim.
Tubular tire installation has 3 components: Tire preparation, rim preparation, and tire installation. The entire process for a new rim will take 72 hours, so don’t wait till the last minute to install your tires!
Tire Preparation
- Stretch tire. Place tire on a rim (a clincher rim will work) and inflate to full pressure for 24 hours.
- Remove tire and saturate base tape with glue. It’s important for the tire to be inflated enough to hold its shape. Move slowly around the tire, gluing 2 inches of tape at a time. (Some people use a brush, we find that a gloved finger works just as well.)
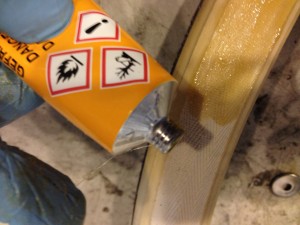
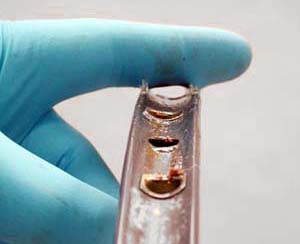
- Let glue dry completely then apply a second layer. If you look at the picture below, you’ll see that the first layer of glue is not absorbed evenly by the tape. It is important to repeat the procedure until the entire tape is saturated through-and-through. A properly prepped base tape will have a glossy, lacquered appearance. Several applications of glue may be necessary.

Note that the this first layer of glue has not been absorbed evenly by the tape. Several applications of glue may be required before the base tape is fully saturated
- Once the tape is fully saturated. Let the tire dry for at least 24 hours
Rim preparation
Aluminum rims
- New rim: Remove any manufacturers’ stickers. Clean surface of rim with alcohol (Use a clean, soft cotton rag. Anything else is likely to leave fibers behind.) Abrade rim with 100-200 grit sand paper. Clean surface with alcohol again. Repeat. (We cannot stress the importance of starting with a clean rim. Any oils from the manufacturing process can prevent proper tire adhesion. Wear gloves to prevent transfer of oils from your hands.)
- Apply one thin layer of glue to the tire bed. Again, many people use a brush, but a gloved finger works well too. Be sure to get the glue all the way up to the top edge of the rim as demonstrated in the image from Park Tool, below. Remember, too much glue will get “rubbery” and loose strength when heated by brake friction, so apply glue in thin, even layers.
- HANG the rim to dry overnight. Don’t let it sit in an area where the glue may collect debris.
- Apply a second coat to the rim, being sure to fill in any spots which were not thoroughly coated on the first pass.
- Hang the rim to dry for at least 10 hours
- Apply glue as necessary to fill in any areas which were not fully coated. Let dry.
Carbon rims
We have found no advantage to using “carbon specific” glue. While it is claimed to resist heat better (carbon rims do not dissipate heat as well as aluminum), some suggest the room temperature bond is not as strong.
- Carbon rims often have multiple adhesive labels and may have a thin layer of lubricant left on the rim bed from the manufacturer. If these lubricants are not removed, the glue will not adhere properly, yet it will be incredibly difficult to remove as harsh chemicals and abrasives cannot be used on carbon. (Be prepared to spend 10+ hours cleaning your rims back to the completely bare surface!) Most rims need to be lightly abraded, then cleaned with acetone or an other manufacturer recommended solvent. CONTACT THE MANUFACTURER BEFORE SANDING OR USING SOLVENTS ON YOUR RIM.
- Follow the above procedures for aluminum rims.
Tire installation
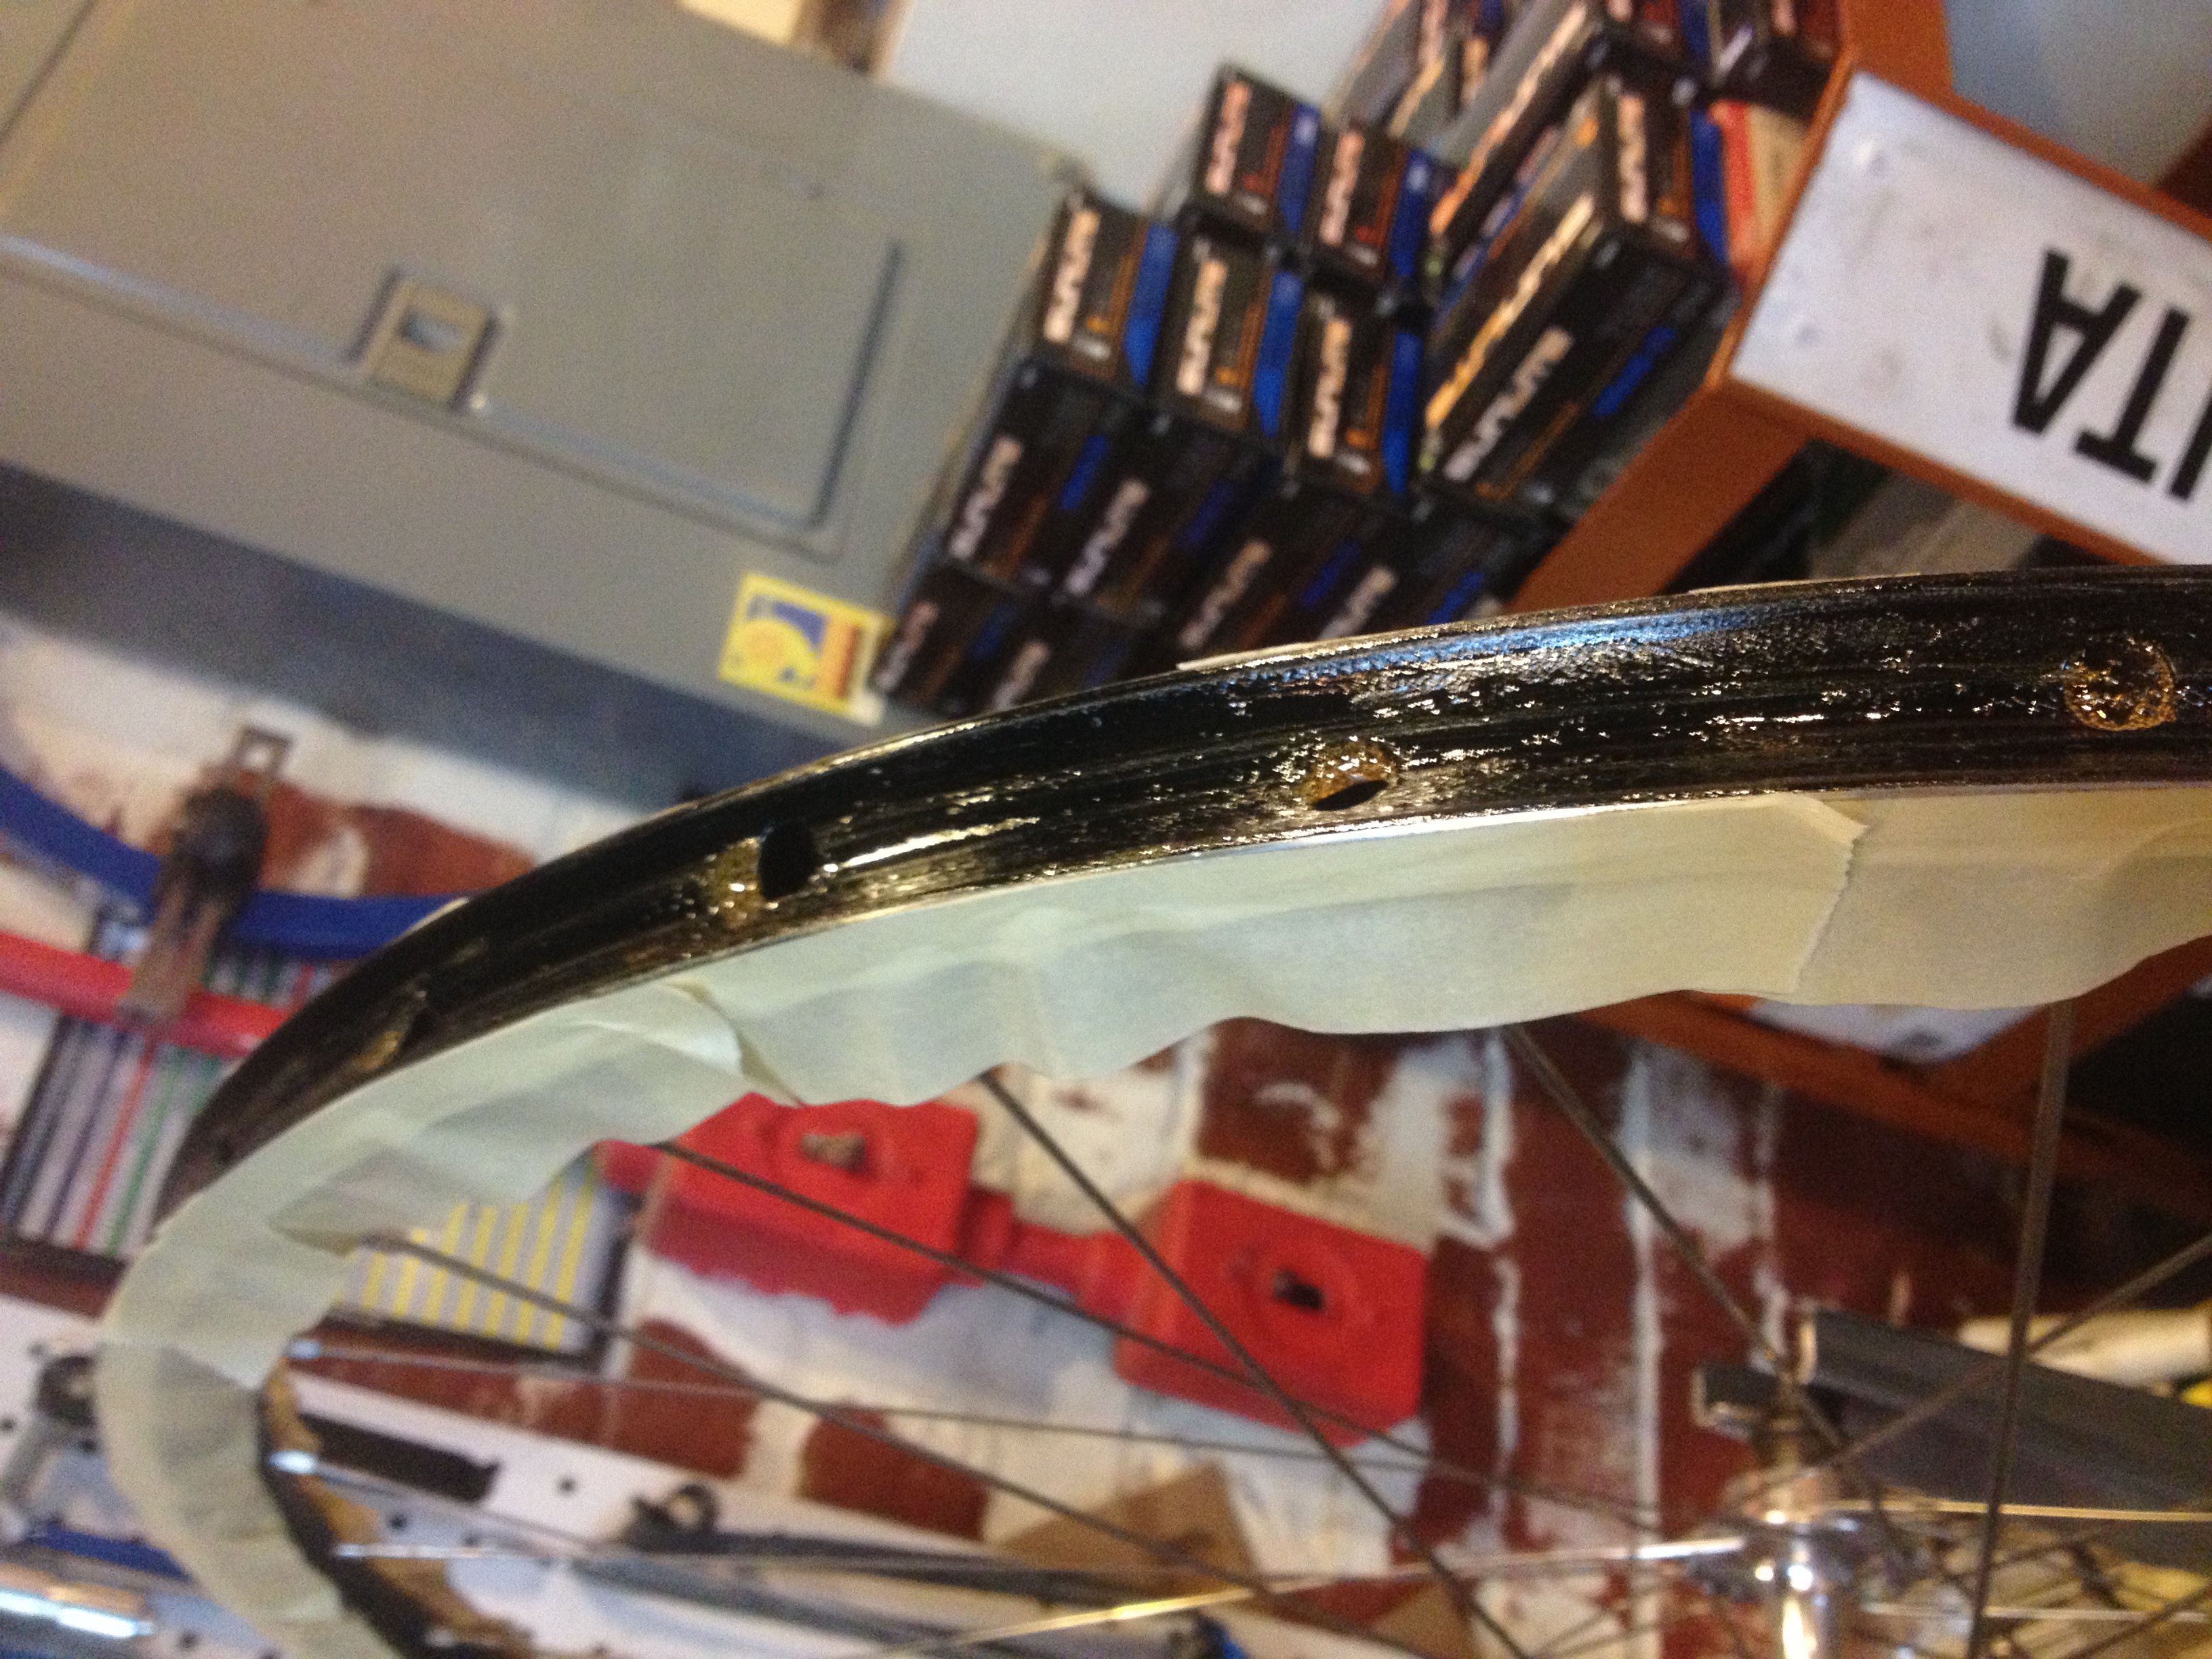
- (Optional) Apply masking tape to the sidewall of the rim to make it easier to remove any glue which spills onto the brake track.
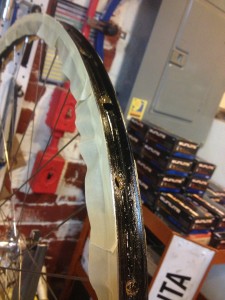
Taping the side of the rim can expedite clean-up!
- Apply one last coat of glue to the rim. You will let this coat dry only enough to become “tacky”- your gloved finger should stick to it, but no glue should come off on the glove. (Drying time is usually only a few minutes at this stage.)
- Keep 10 psi in the tire, just enough air so that it holds it’s shape. Install the tire, valve first, moving your hands opposite from one another while applying downward pressure. The edge of the rim opposite the valve should rest on a completely clean surface. (You must apply stretching force the entire time you are installing the tire or the last few inches will be extremely difficult to mount.)
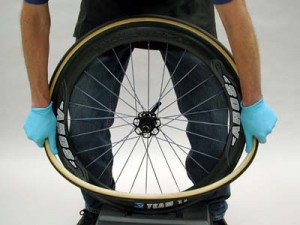
Proper installation requires that you stretch the tire evenly on opposite sides as you go. (Photo courtesy of Park Tools)
- Use your thumbs to push on the last bit of tire. Try not to drag the sidewall through the glue. If you get glue on the tire or side of the rim, wait for it to dry then pick it off. You may use acetone to clean the braking surface of Aluminum rims and Zipp Carbon rims (for other carbon rims, check with the manufacturer); however, be VERY CAREFUL not to get acetone on the tire as it may be drawn into the fabric and soften the glue.
- Immediately begin to center the tire on the rim. The base tape should show evenly on both sides and an even layer of glue should be visible between tire and rim. (Some handmade, small batch tires have uneven base tape–make sure the tread is centered and smooth, which may entail the tape being off-center in places.) Check very carefully at the valve, where the base tape may bunch and create a gap between the tire and rim. Also check carefully directly opposite of the valve, where the rim was resting during tire installation. If there are any gaps between the rim and tire, place a dab of glue on the edge of a business card and fill in the gap. Alternatively, you may use a new, clean, hydraulic brake syringe filed with glue.
- Fill the tire to about 80PSI, let sit for an 30 minutes, then inflate to max pressure. (Inflating to full pressure before the glue has “set-up” a bit may cause glue to seep over the sides of the rim.)
- Wait 24 hours, then ride!
A note on using a previously glued rims
It is not always necessary to strip a previously glued rim down to bare metal or carbon before installing a new tire. If the glue is clean and is not hard and brittle, it’s probably okay to simply add another layer of glue and install a new, properly prepared tire. If in doubt, ask your local bike shop to check it out for you. Before mounting a tire on an previously glued rim, pick out all dirt and debris from the rim bed with tweezers and scrape dirty glue off the edges of the rim. (For aluminum rims, a razor blade works well.)
Why we don’t use tubular tape
While there are methods incorporate tubular tape which may work, tubular tape does not extend to the edges of some rims – the most important area to have good adhesion. (If a tire is going to roll off, it will begin from the edge, not the center.) Further, the glue in tubular tape will not penetrate the fabric of the tire base tape as thoroughly as will traditional glue.
Thanks for reading!